dnsmasqをインストールする
$ sudo yum install dnsmasq設定ファイルを編集する
$ sudo nano /etc/dnsmasq.conf# Never forward plain names (without a dot or domain part)
domain-needed

# Never forward addresses in the non-routed address spaces.
bogus-priv

# Add local-only domains here, queries in these domains are answered
# from /etc/hosts or DHCP only.
local=/mysite.test/

# Set this (and domain: see below) if you want to have a domain
# automatically added to simple names in a hosts-file.
expand-hosts

# Set the domain for dnsmasq. this is optional, but if it is set, it
# does the following things.
# 1) Allows DHCP hosts to have fully qualified domain names, as long
#     as the domain part matches this setting.
# 2) Sets the "domain" DHCP option thereby potentially setting the
#    domain of all systems configured by DHCP
# 3) Provides the domain part for "expand-hosts"
domain=mysite.test
$ sudo nano /etc/hosts192.168.0.90 mysite.test
dnsmasqを起動する
何か警告が出たけど開発用だし、動いてるので気にしない方向でひとつ。
$ sudo service dnsmasq start

dnsdomainname: 不明なホスト
Starting dnsmasq:$ sudo chkconfig dnsmasq onルーターの設定をする
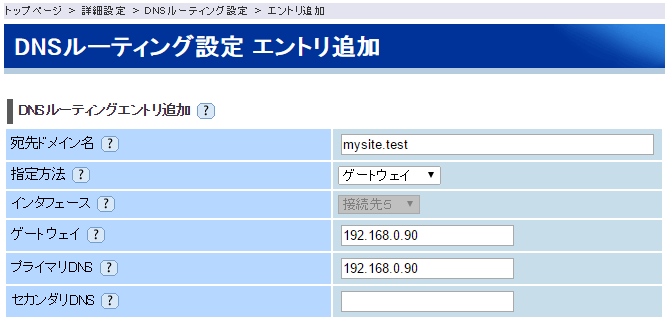
モバイル系のデバイスをローカル内の無線LANルーターで使っていると、そのまま問い合わせが外向きに行ってしまうので、サーバーに向けるようにしておく。以下は、NECの無線LANルーターの設定例。
- この記事で書かれている製品やソフトについて
- CentOS 6.8 minimal 64ビット